Avoid Verticutting Mistakes: Depth, Aftercare, & Heavy Soil Solutions for a Pristine Lawn
Achieving a lush, dense, and resilient lawn is the dream of every garden enthusiast. While regular mowing and fertilizing are crucial, one step often misunderstood or incorrectly performed is verticutting. This vital process, known in German as "Richtig Vertikutieren," is indispensable for removing suffocating thatch and moss, allowing your lawn to breathe, absorb nutrients, and flourish. However, common mistakes, particularly regarding verticutting depth, insufficient aftercare, and neglecting specific soil challenges like heavy clay, can turn this beneficial treatment into a setback. This comprehensive guide will walk you through the proper techniques, highlight pitfalls to avoid, and provide tailored solutions to ensure your verticutting efforts yield a truly vibrant lawn.
Why Verticutting is Non-Negotiable for a Thriving Lawn
Over time, your lawn accumulates a layer of dead grass clippings, moss, and other organic debris known as "thatch." This thatch creates a dense, impenetrable mat that chokes your grass roots, preventing essential air, water, and nutrients from reaching them. The consequences are dire:
- Shallow Root Growth: Grass roots are forced to grow superficially within the thatch layer, making them vulnerable to drought and stress.
- Nutrient & Water Starvation: Fertilizers and water struggle to penetrate the thatch, leading to inefficient use and potential runoff.
- Increased Disease & Pest Susceptibility: A damp, airless thatch layer provides an ideal breeding ground for fungal diseases like red thread or dollar spot, and can harbor pests.
- Moss & Weed Proliferation: Weakened grass struggles to compete, allowing moss and various weeds to easily colonize your lawn.
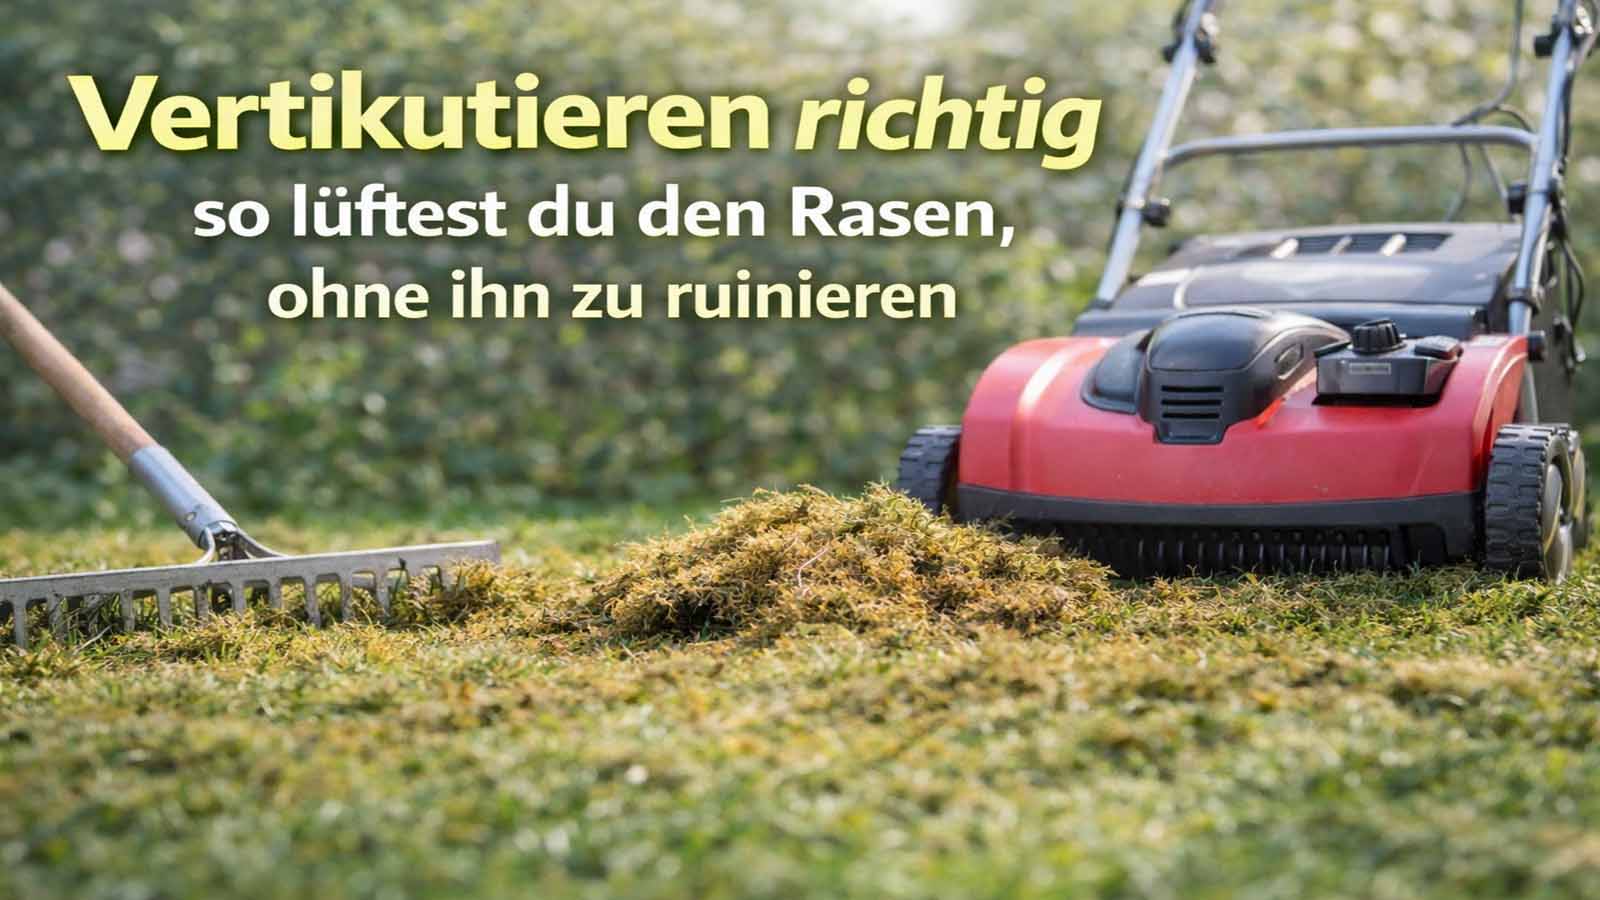
Understanding these problems is the first step towards "Richtig Vertikutieren." But how do you know if your lawn specifically needs this intervention? A simple test will tell you: gently draw a metal rake or a cultivator without applying pressure through the grass. If old clippings, moss, or a significant amount of debris cling to the rake, it's a clear signal that your lawn is suffering from thatch build-up and requires verticutting. For a deeper dive into diagnosing your lawn's needs, read our article
When to Verticut Your Lawn: The Easy Rake Test & Benefits Explained.
Timing is Everything: When and How to Prepare Your Lawn for Verticutting
The success of your verticutting endeavor heavily relies on timing and proper preparation.
The classic and most effective time for verticutting is in **early spring, typically April or May**, when the grass is actively growing and strong enough to recover quickly. However, global climate changes mean springs are increasingly dry, and adequate moisture is crucial for post-verticutting recovery. If your spring is exceptionally dry, you might consider postponing until conditions improve or ensuring consistent irrigation. A second, lighter verticutting in early autumn (September) can also be beneficial, but the spring application is generally the most important.
Before you even think about firing up your verticutter, proper preparation is essential:
- Fertilize First: Approximately two weeks before verticutting, apply a high-quality lawn fertilizer. This strengthens the grass plants, providing them with the necessary nutrients to withstand the stress of verticutting and recover more rapidly.
- Mow Strategically: After fertilizing, allow your lawn to grow for about a week to 10 days, then mow it to a length of approximately 4 centimeters. About two to three days before you verticut, give it a final, shorter mow, aiming for about 3 centimeters. This shorter height ensures the verticutter blades can effectively reach the thatch layer without unnecessarily tearing healthy grass blades.
This careful preparation is a cornerstone of "Richtig Vertikutieren," setting your lawn up for optimal recovery and long-term health.
Mastering the Verticutting Technique: Avoiding Depth Disasters
The most critical mistake homeowners make when verticutting is setting the wrong blade depth. A verticutter is equipped with sharp, rotating blades designed to slice into the turf and pull out thatch. The key is to **ensure these blades only lightly score the soil surface, not deeply rip into it.**
The ideal verticutting depth is between **2 to 3 millimeters (approximately 1/10th of an inch)**.
- Too Deep: Blades set too deep will sever the healthy grass roots, severely damaging the turf. This not only prolongs recovery time but can also create large, bare patches susceptible to weed invasion. Furthermore, it puts immense stress and wear on your verticutter, potentially leading to costly repairs. This is arguably the biggest mistake to avoid when aiming for "Richtig Vertikutieren."
- Too Shallow: Conversely, if the blades are set too shallow, they won't effectively penetrate the thatch layer, rendering the entire process largely ineffective and a waste of effort.
Always start with a shallower setting and adjust if needed, aiming for that gentle scratching of the soil.
Once the depth is set correctly, follow these technique tips:
- Multiple Passes: Work the lawn once lengthwise, then make a second pass crosswise. This ensures comprehensive thatch removal.
- Steady Pace: Keep the machine moving at a consistent, moderate pace. Avoid stopping in one spot for too long, as this can scalp the lawn and cause excessive damage.
- Overlap Slightly: Ensure each pass slightly overlaps the previous one to avoid missing strips.
- Remove Debris: If your verticutter doesn't have a collection bag, rake up and remove the dislodged thatch and moss immediately. Leaving it on the lawn defeats the purpose of verticutting.
Nurturing Your Lawn Post-Verticutting: Special Solutions for Heavy Soils
After the physical exertion of verticutting, your lawn needs careful aftercare to recover and thrive. This phase is just as important as the verticutting itself for achieving a healthy lawn.
General Aftercare Tips:
- Clear Debris Thoroughly: Ensure all removed thatch and moss are bagged and discarded.
- Overseed Bare Patches: Verticutting can leave some areas looking sparse. Overseed any thin or bare spots with a quality grass seed suitable for your region. This encourages denser growth and prevents weeds from taking hold.
- Water Deeply and Regularly: For at least two to four weeks post-verticutting, it is critical to water your lawn regularly and *deeply*. The goal is to encourage new roots to grow deep into the soil, not just on the surface. Light, frequent watering promotes shallow roots and should be avoided.
- Minimize Foot Traffic: Keep off the newly verticut and overseeded areas as much as possible to allow the new grass to establish without disturbance.
Special Solutions for Heavy Soils:
Heavy clay soils present a unique challenge. They tend to be poorly drained, prone to compaction, and create an environment where moss thrives. If you have a very heavy garden soil, incorporate this crucial step into your post-verticutting routine:
- Apply Lawn Sand: After verticutting, spread a layer of specialized lawn sand over your entire lawn. Aim for approximately two to three kilograms per square meter (about 4.5 to 6.5 pounds per 10 square feet).
- How it Helps: Over time, the sand works its way into the soil, improving its structure and permeability. This enhances drainage, reduces compaction, and creates a less hospitable environment for moss, allowing your grass to establish a healthier root system. This is a powerful, long-term solution for managing heavy soils effectively.
Combining these aftercare strategies, especially the sand application for heavy soils, ensures that your "Richtig Vertikutieren" efforts translate into a lasting, vibrant green space. For more detailed aftercare strategies and a holistic approach to lawn health, refer to
Proper Lawn Verticutting: Your Guide to a Healthy, Dense Lawn.
By understanding the 'why' behind verticutting, preparing your lawn correctly, mastering the delicate art of blade depth, and providing diligent aftercare – with special consideration for challenging soil types – you can avoid common mistakes and unlock the full potential of this essential lawn care practice. Your reward will be a denser, healthier, and more resilient lawn that truly enhances your outdoor living space.